Setting up Splat-Shot
Once you have your new Cloud9 Desktop started for NodeJS development (preloads NodeJS and NPM), open a command prompt and type the following (Directions from Angular CLI):1 2 3 4 | npm install -g angular-cli
ng new splat-shot
cd splat-shot
ng serve --port 8080 --live-reload-port 8082
|
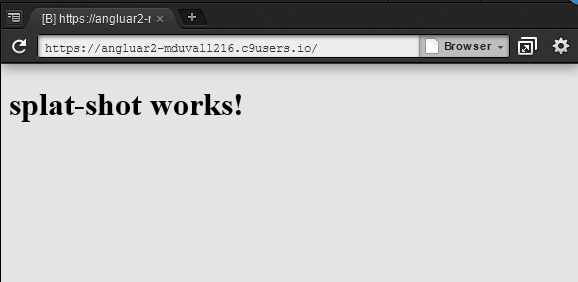
If you are walking through this demo outside of Cloud9, you can just type "ng serve", but Cloud9 only has ports 8080-8082 open, so assign live-reload to port 8082 and changes update as soon as you click save. (Thanks ng cli team for making the ports assignable, you guys are genius!) In the Cloud9 menu bar at the top click "Preview > Preview Running Application" and a new window will appear with a starting message:
 To verify that live-reload is working, navigate to the following file and add the code:
src \ app \ splat-shot.component.html
1 | <h2>Live Reload Works!</h2> |
The preview should reload automatically and display:

Layout and UI Components
Once we have splat-shot running, time to install Material Design, please follow the instructions from the Material Design GitHub Website. Once you have made the changes from the installation instructions, stop the current ng serve process and restart, (make sure to set the livereload port if in Cloud 9):ng serve --port 8080 --live-reload-port 8082
To make sure everything is working, open the following file and add make the changes below:
src \ app \ splat-shot.component.ts
1 2 3 4 5 6 7 8 9 10 11 12 13 14 | import { Component } from '@angular/core'; import { MD_CARD_DIRECTIVES } from '@angular2-material/card'; import { MD_BUTTON_DIRECTIVES } from '@angular2-material/button'; @Component({ moduleId: module.id, selector: 'splat-shot-app', templateUrl: 'splat-shot.component.html', styleUrls: ['splat-shot.component.css'], directives: [MD_CARD_DIRECTIVES, MD_BUTTON_DIRECTIVES] }) export class SplatShotAppComponent { title = 'splat-shot works!'; } |
src \ app \ splat-shot.component.html
1 2 3 4 5 6 7 8 9 | <md-card> <md-card-title>{{title}}</md-card-title> <md-card-content> Racquetball Score Keeping System </md-card-content> <md-card-actions align="end"> <button md-raised-button color="accent">Splat!</button> </md-card-actions> </md-card> |
You should now have a Material Design card with a button:

Keep in mind we just imported only the Material Design core, cards, and button. If you want to use any other components from Material Design, you'll have to import them as well. For example, let's say you want to use a progress circle, first install the component using npm:
npm install --save @angular2-material/progress-circle
Update your configuration and html:
src \ system-config.ts
1 2 3 4 5 6 7 8 9 10 | ... const materialPkgs:string[] = [ 'core', 'button', 'card', 'progress-circle' ]; ... |
src \ app \ splat-shot.component.ts
1 2 3 4 5 6 7 8 9 10 11 12 13 14 15 | import { Component } from '@angular/core'; import { MD_CARD_DIRECTIVES } from '@angular2-material/card'; import { MD_BUTTON_DIRECTIVES } from '@angular2-material/button'; import { MdProgressCircle } from '@angular2-material/progress-circle'; @Component({ moduleId: module.id, selector: 'splat-shot-app', templateUrl: 'splat-shot.component.html', styleUrls: ['splat-shot.component.css'], directives: [MD_CARD_DIRECTIVES, MD_BUTTON_DIRECTIVES, MdProgressCircle] }) export class SplatShotAppComponent { title = 'splat-shot works!'; } |
src \ app \ splat-shot.component.html
1 2 3 4 5 6 7 8 9 10 | <md-card> <md-card-title>{{title}}</md-card-title> <md-card-content> Racquetball Score Keeping System </md-card-content> <md-card-actions align="end"> <md-progress-circle mode="indeterminate"></md-progress-circle> <button md-raised-button color="accent">Splat!</button> </md-card-actions> </md-card> |
You should now have a progress circle spinning next to your button:

NOTE: This process is important, since TypeScript needs to be compiled to JavaScript, you need to tell the AngularCLI the new packages to build and include in your index.html.
Now that we have the 'shell' of the Splat-Shot application up and running with AngularCLI and some Material Design components installed, time to take a break and design the components of the application and their functions. Check out my next post on design.
No comments:
Post a Comment